
.JPG)
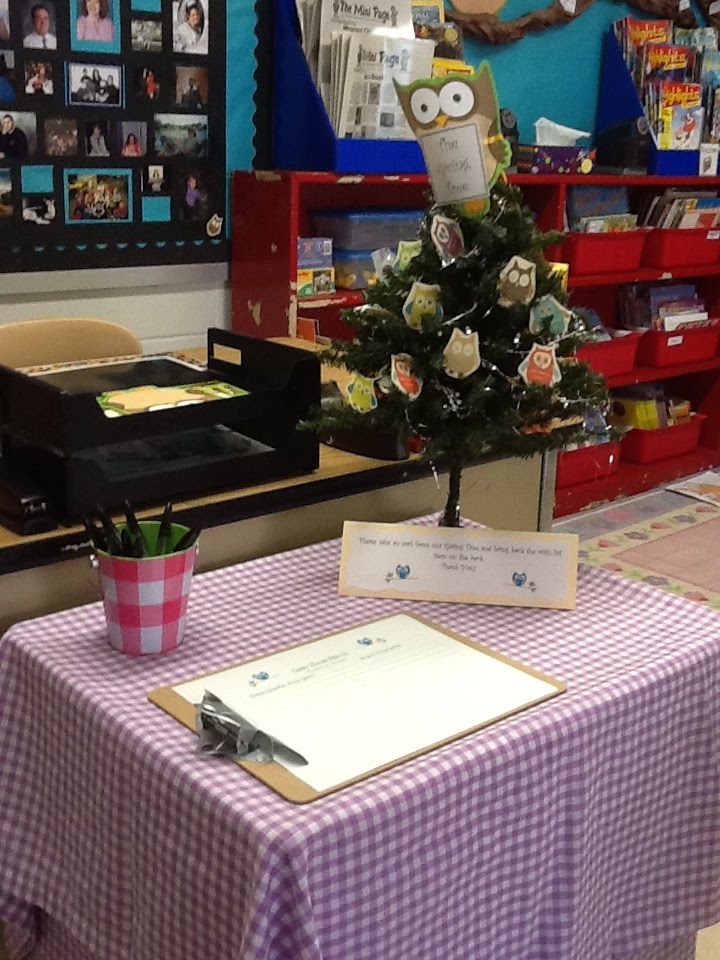
I also created a parent sign-in sheet with owl clipart to set under my colorful tree. The table is really my rolling cart covered with one of my daughters old curtain panels (she's moved on to zebra decor now;)). I'm trying not to hold on to too many things as I have limited storage, but those plaid panels perfectly matched my decor!
Right now I'm working on making all my owl-themed paperwork for the beginning of the year... Keep an eye out on my TpT store (http://www.teacherspayteachers.com/Store/Becky-Blair)for new owl-themed products and beginning of the year activities.
While you're waiting for those, try this little snack on for size. I created them last fall as Open House treats for my new students to take with them as they left. The kids loved them and they made an adorable centerpiece for my table. They'd also be perfect to use with a camp-out theme (just stick them in a rustic bucket instead of a colorful tin).
.JPG) |
| The tag reads: "I can't wait to see you s'more!" I'll probably make the tags owl-themed this year so they match the rest of my room decor. |
.JPG) |
| Place some craft foam in a colorful bucket and poke the skewers into the foam. Cover the foam with tissue paper. |
S'more Pops:
Materials :
1 bag of regular marshmallows
1 bag of chocolate chips (I used milk chocolate)
approx. 1 tsp Crisco
1 box graham crackers
1 freezer bag
wax paper
1 pkg. wooden skewers
1 pkg. plastic treat bags (look in the craft section)
1 roll thin ribbon
Directions:
- Slide 2-3 mallows on the blunt end of each skewer (they will slide through the pointy end with the weight of the chocolate)
- Place the graham crackers in a freezer bag and crush with a rolling pin, or vegetable can. Pour them into a bowl
- Melt the chocolate chips and Crisco in a microwave-safe bowl (stir every 30 sec. until the chocolate is thoroughly melted)
- Dip one skewer into the melted chocolate, making sure that the top of the mallow is well-coated.
- Immediately roll the mallow skewer in the crushed graham crackers.
- Lay the skewer onto wax paper until the chocolate sets (you can put them in the frig or freezer to set them faster).
- Repeat with each skewer until you've completed a S'more Pop for each student. I made several extra in case I had mishaps (or one of my kids snatched one while I wasn't looking).
- While you're pops cool, create your gift tags.
- Slide each S'more Pop into a treat bag and tie shut with a piece of ribbon.
Gift Tags:
scissors/paper cutter
glue stick
computer
printer
- Open Microsoft Word and create a new document.
- Click on the "Mailings" tab
- Click on the "labels" icon
- Select "single label"
- In the "address" box type: "I can't wait to see you S'more!" :D Mr./Mrs. Teacher
- Load your plain cardstock in your printer
- Click "Print"
- Cut the tags apart (or print them on actual labels)
- Use adhesive to stick the labels to your cardstock, leaving some colorful cardstock showing around each one.
- Cut them apart
- Put a single hole punch on the left side of each tag
- Tie the tag onto the ribbon on the s'more pop.
ENJOY!